

STAINING & VARNISHING – STRIPPING THE DECK FITTINGS-REMOVING WINDOWS & HATCHES
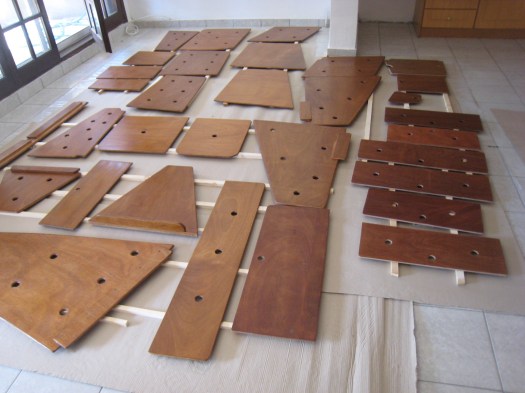
With the first warmer days of March we started staining the plywood pieces. In total 32 boards of different shapes and sizes. Most of them were 12mm and some 9mm thick. First of all, we had to give them the right color. After the color tests, we decided how many coats of wood stain had to be applied to match the original interior of the boat.
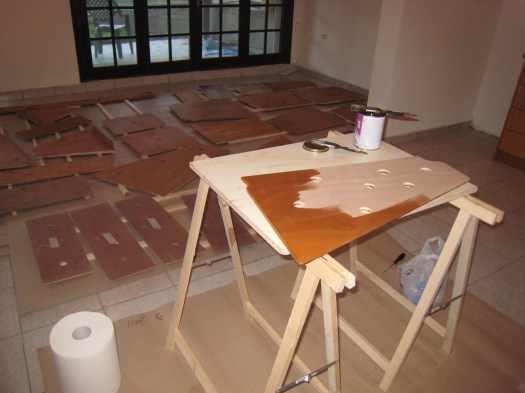
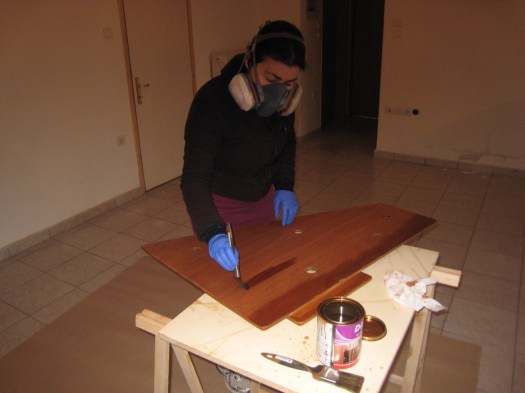
Day after day we varnished, sanded, varnished, sanded again and again until the boards finally looked nice, smooth and shiny. The color was as perfect as we expected.
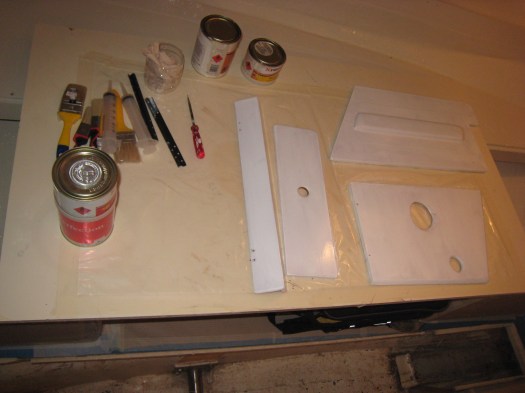
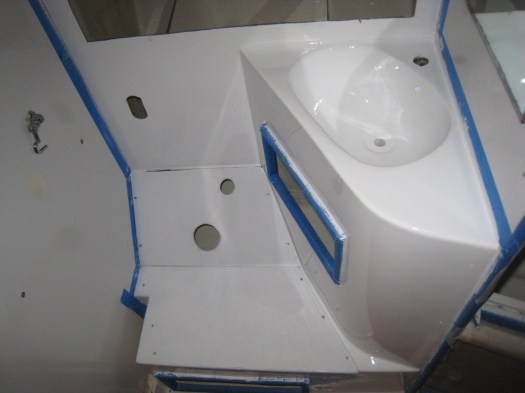
All the heads area was painted with two part polyurethane white.
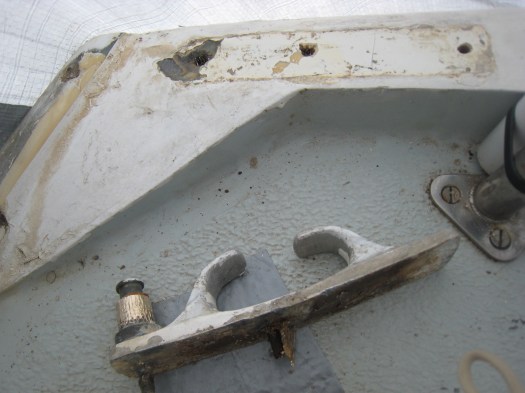
And then we went back on deck to strip off what was left. These are the original stern fairleads which had to be removed.
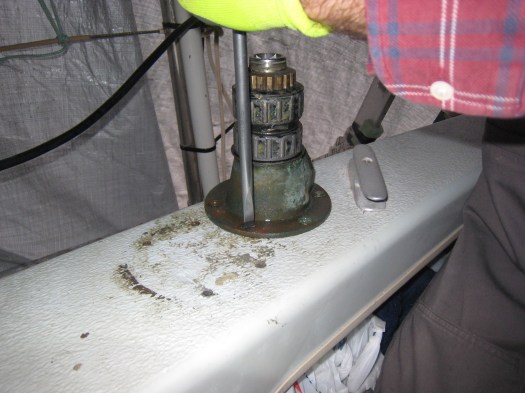
We also took off all the winches from the cockpit. The genoa winches were very difficult to undo. Each winch was fitted with 5 machine screws but there was no access to unscrew the nuts. Actually those nuts were encapsulated in the polyester. Eventually, we managed to remove most of the screws. The trick was to pour loads of WD40 and use a big flat screw driver. For 10 screws, it took about 4 hours work.
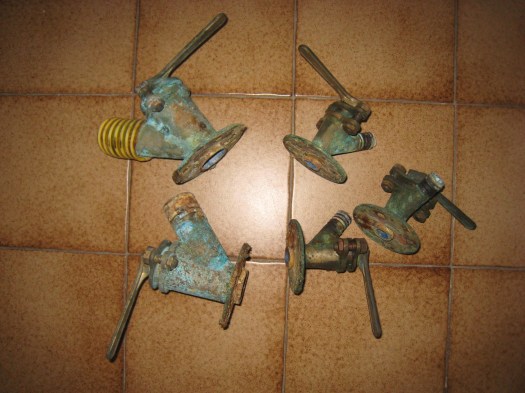
These are the original 40 years old Blake seacocks. The two big ones (1′ & 1/2 “) from the cockpit drains were totally corroded and seized. We could have refurbish them, but we thought it would be better to buy new ones. That was a big expense but those Blake seacocks will probably last a lifetime.
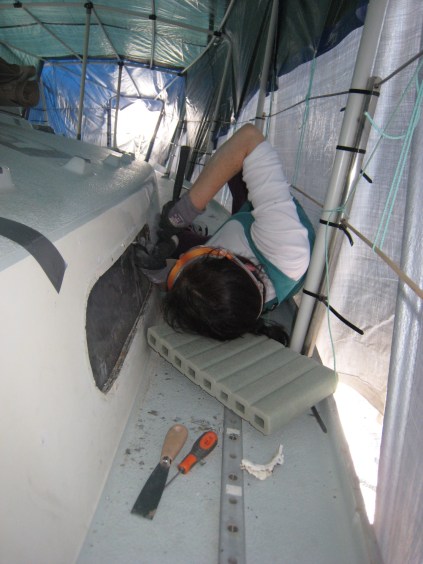
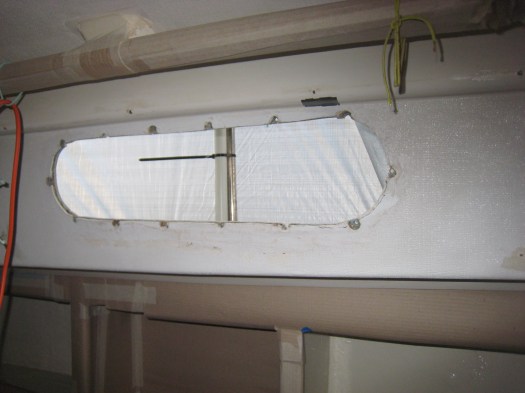
Replacing the old windows was another major task. On this topic we were lucky to get some help from the Jeremy Rogers yard. We did purchase a full set of new windows and frames. The most complicate part was cleaning the area around the windows after removing them.
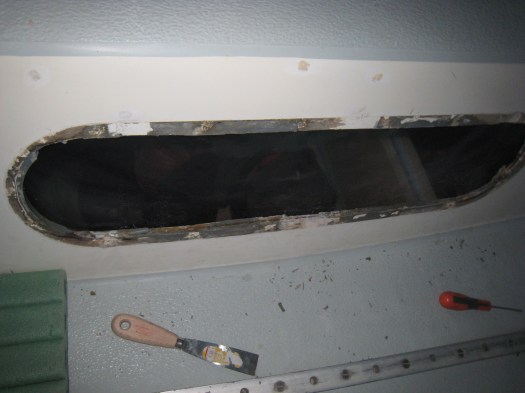
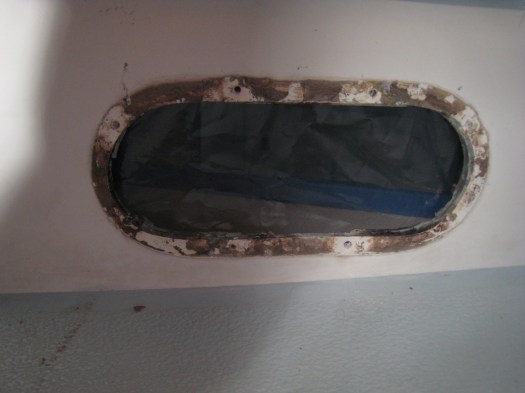
Scraping off the old sealant around the windows was a “relaxing” job.
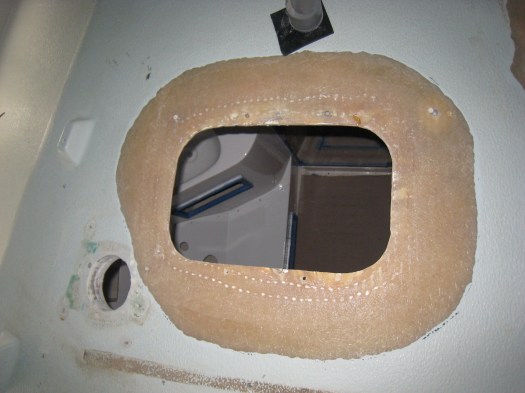
This is a big hole on deck. Here again, the previous owner, in his enthusiam to upgrade his boat, had installed another hatch above the heads. It is true that the Contessa’s lack a bit of ventilation, but still we didn’t agreed with the upgrade….So, the hatch had to go and the hole was going to be re-laminated.

This is the hatch hole after “a bit” of grinding. What a “nice polyester shower” we had that day… But what to do, we had to achieve a 1/12 bevel as it is prescribed in the manuals….
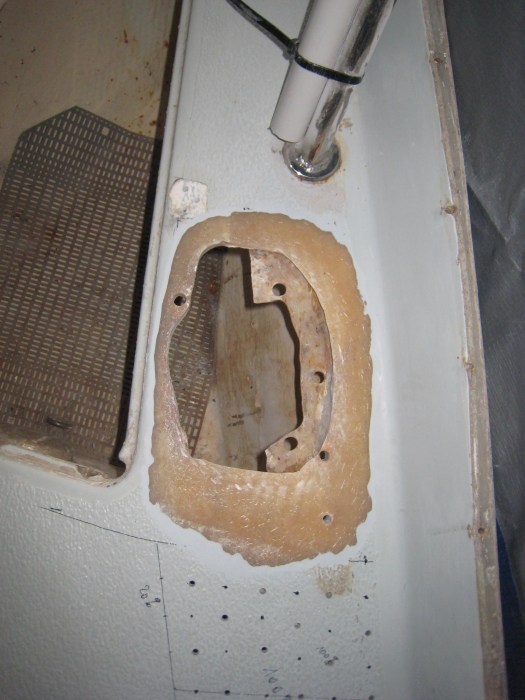
Same thing on the foredeck, where the previous owner had installed a windlass in the exact spot were the starboard cleat is supposed to be….That was another upgrading we didn’t agreed with….!
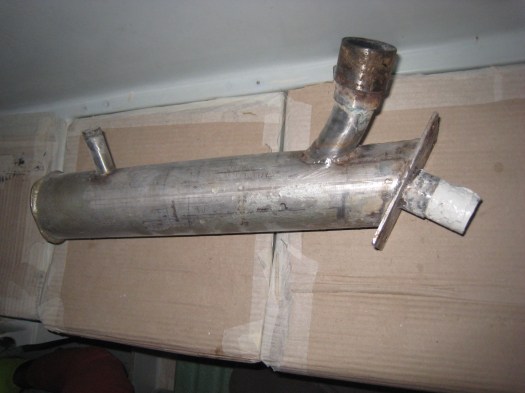
The original exhaust outlet…
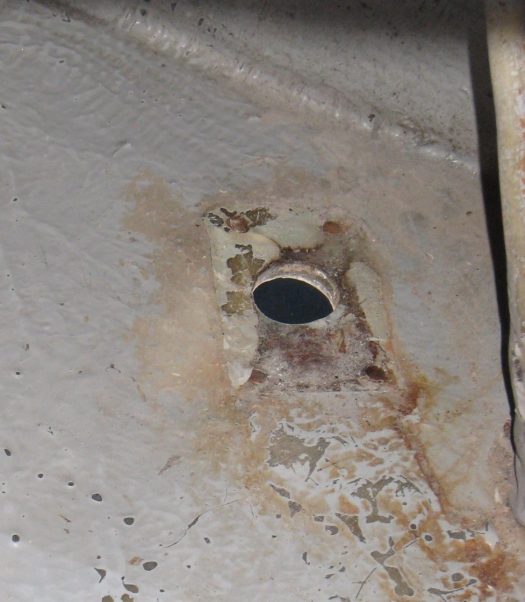
…and the hole of this exhaust in the lazaret.
At this time of the year, the temperature here in Greece start to rise above 20C. Unfortunatelly, the deck had to stay covered for another month. It turned out to be a very hot “green house” with temperatures up to 34C. Add the polyester dust and you get the “perfect” conditions for working !
