

TOE RAIL – DEPTH SOUNDER – PAINTING THE DECK AREA
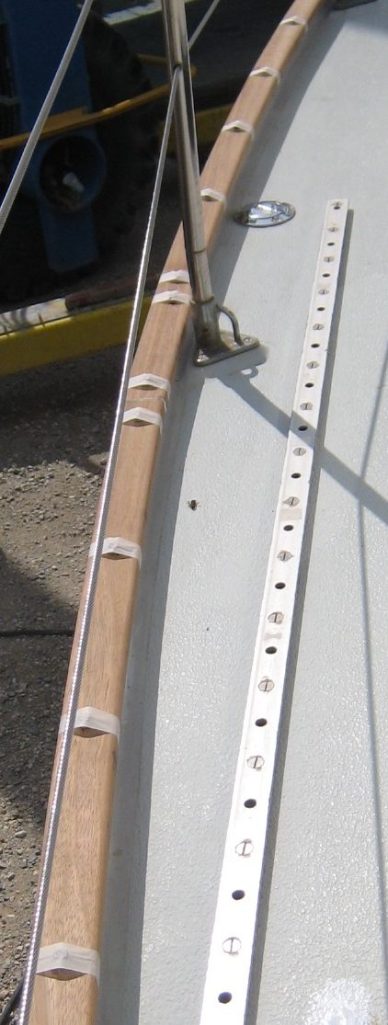
After several weeks, the iroko profiles finally came into shape and matched the boat curves. We were now ready to start drilling through the wood. In total more than 80 countersunk wood screws were used.
The six long iroko profiles were about 3 meters each. We used 3 pieces on each side keeping an extra meter of marging in length. We began with the two iroko front pieces: first the portside and then the starboard side.
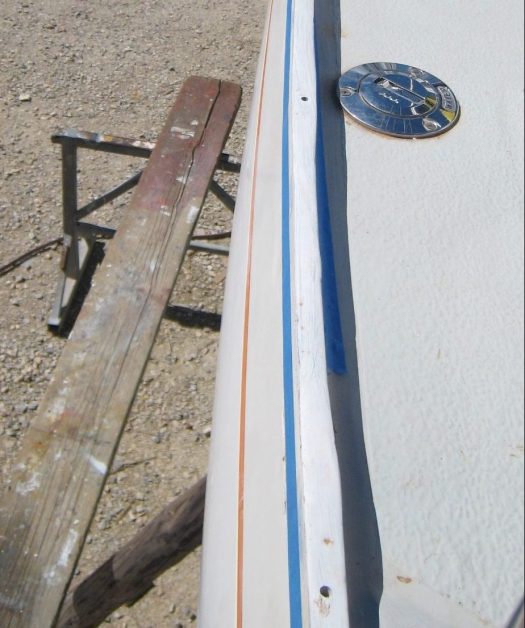
Every piece of wood had to be measured and marked precisely. The boat edge itself is very thin: in between 12mm & 15mm. To avoid any cracks on the GRP we had to mark accurately the center of each hole before drilling.

Every hole was done following this exact procedure:
-
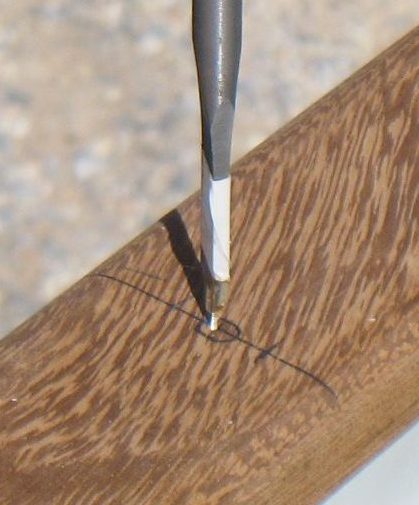
measuring the center with a Vernier Caliper
-
marking with pencil
-
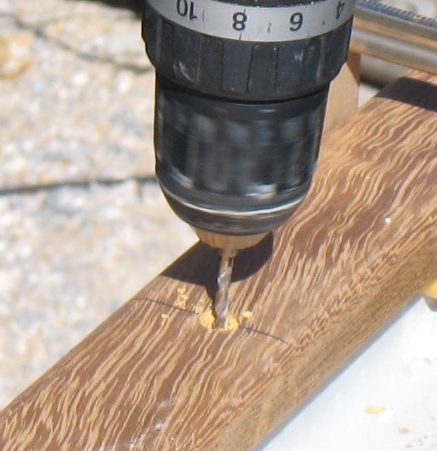
drilling first the countersunk (dimension of the head 10 mm) with a special drill
-
drilling a pilot hole with a thinner drill (3mm): we had to take into consideration the angle on each area.
-
drilling at 4.5mm width
-
drilling at 5 mm width only through the wood
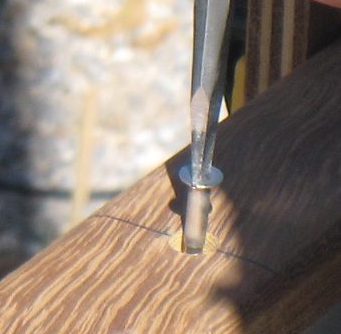
Then the wood screw could be inserted manually with a heavy duty screwdriver.
Using stainless steel countersunk wood screws proved to be a very wise decision. Marine bronze wood screws was the other option, but it would have been a nightmare considering the softness of the material.
The installation was done in two stages.
The first step was to take measurements, drill the holes and screw in each stainless steel screw by hand. All that was done with great care, to avoid any damage on the GRP. It appears that GRP is a very fragile material when it comes to insert a screw.

The second step was to unscrew all of the 80 screws very carefully (by hand). Then, lightly sand and clean well the areas. Finally, apply Bostik sealant and place each iroko piece on the exact position according to the holes. Clamps were extensively used to keep the profiles in place.
After applying the Bostik Marine Silicone, we could insert again each screw. While working, we had a few people admiring us on deck and of course every one wanted to give his own advice. A lot of people did suggest that we were loosing much time because we didn’t want to use an electrical tool for screwing all of the 80 screws. If we had follow this advice, and used the drilling machine, we would have ended up regretting it. According to our experience, it would have been a huge mistake to use an electric screwdriver. We would have destroyed most of the screws head slots !

In fact, the boat edge under the toerail was not even at all, meaning that each hole center had to be marked with extreme precision.
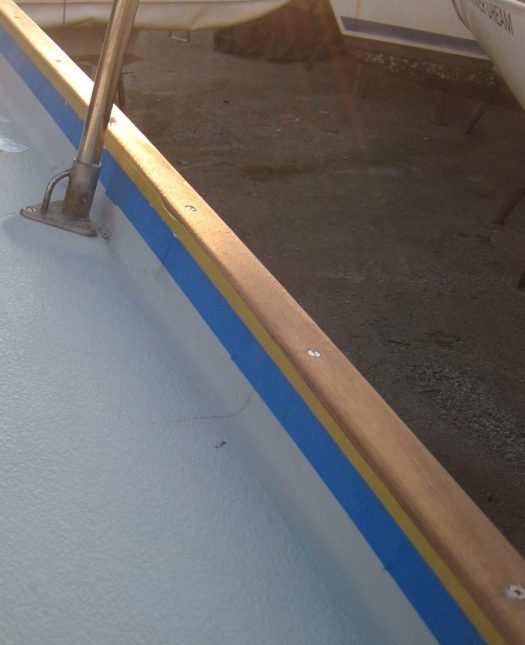
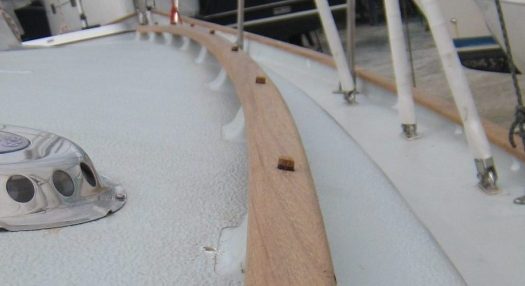
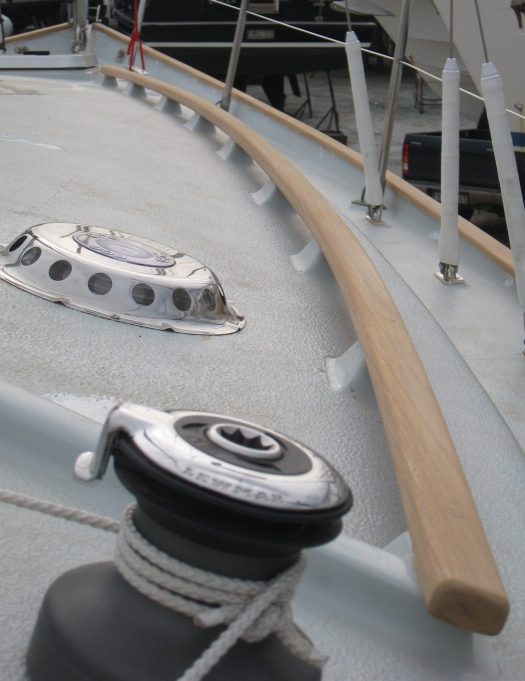
It took around 15 days of work to finally have a brand new toerail and new hand rails. To finish the job, every screw head was covered with a 10 mm wood plug.
To fit the plugs, we used polyurethane PU glue, keeping in mind that this type of glue has the tendency to expand when curing.

To avoid this effect, we brushed a small amount of glue only on the circumference of the plugs and used masking tape to keep the plugs in position.
A decision had to be made concerning the type of protection we had to apply on our new iroko toe and hand rails. We selected 6 products that looked promising. All of them have their qualities but also their disadvantages.
From left to right: Linseed oil, Turpentine, Drying agent, Teak Wonder, Epifanes Oil & Sealer and Epifanes Clear Varnish.

With those ingredients we did 5 different tests:
1- Linseed Oil + turpentine + drying agent
2- Teak Wonder
3- Epifanes Teak Oil
4- Epifanes Teak Oil + Thinner 20%
5- Clear varnish + Teak oil 25% + Thinner 5%

We left the iroko pieces for several days in the sun and checked the results. Apparently, anything containing oil (Linseed or Tung) tends to color the wood but also attracts a lot of dust (test 1-3-4). Oils do get darker when exposed to strong sunshine. The test 5, which was a bit of an experiment, made the wood very sticky. Even more sticky than with Teak Oil. We finally chose Teak Wonder (test 2) which has the advantage of keeping the Iroko as it is and does not attract dust. The other positive point with Teak Wonder is that it is Silicon Based, so it seals the wood and keeps the natural oils inside.
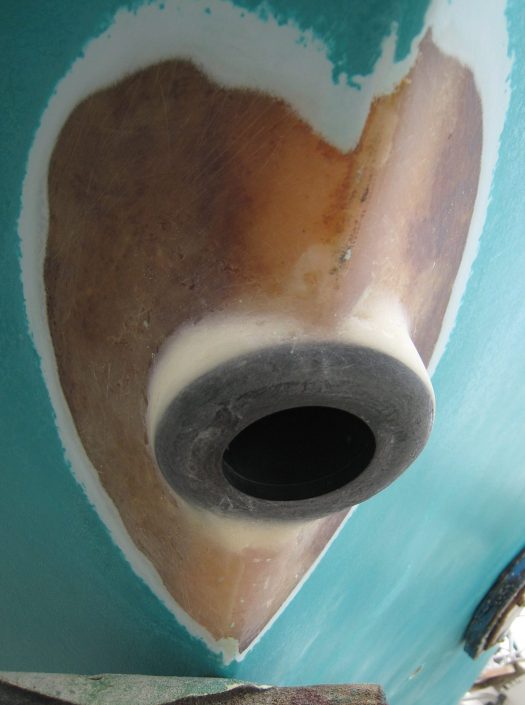
Here is something completely different from carpentry ! The depth sounder transducer…It seems that on most old Contessas 32, there is a hole just in front of the keel. This is probably the best spot for such an instrument but the V shape of the hull makes installation a bit tricky. We decided to fit the case of the depth transducer with epoxy resin and glass fibers. This way, we managed to avoid sharp edges and made sure everything was watertight.
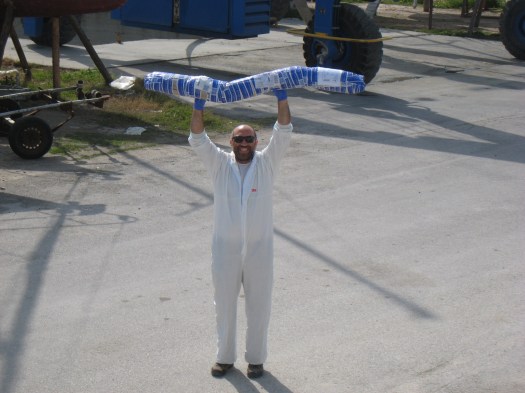
Meanwhile, the new tiller arrived from Jeremy Rogers Yard !!!
The toe rail installation was completed one day before Easter. Just on time for the lamb feast !
We both agreed that it was one of the most difficult jobs we had to do by now, if not the most difficult ! We were really exhausted. Our backs and knees were hurting, but we were so happy and proud that we managed to complete this challenging task.

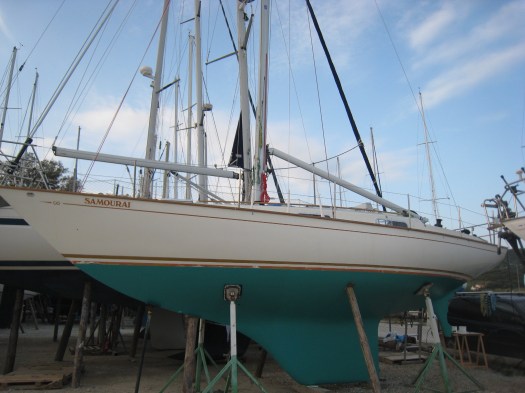
Straight afterwards we had to crack on another major work: sanding and painting the deck of “Samourai”. In order to achieve a good surface preparation we needed to find the adequate Scotchbrite pad for this job. The original gelcoat was very old and had become slippery after 40 years. We sanded all the deck by hand, carefully, several times. Needless to say that this could not be achieved with a sanding machine or any other sandpaper because the old gel coat was already moulded with an anti-skid template.
After sanding thoroughly all the areas, the deck was ready for a good wash. And just before applying the primer, we used a degreaser to make sure the surface was totally clean.
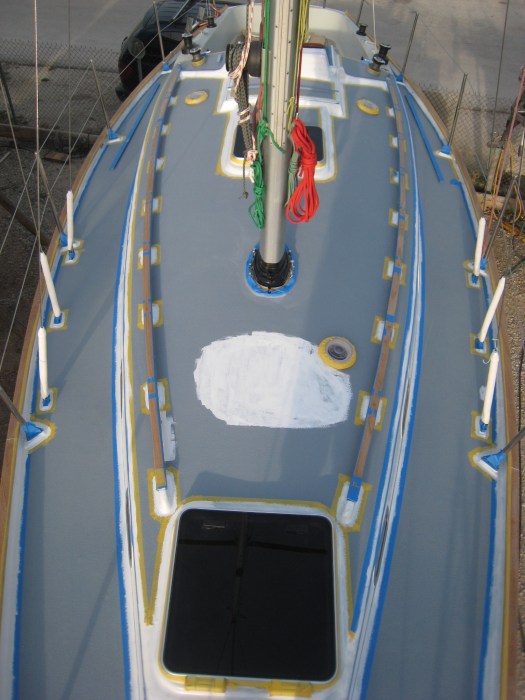
The whole deck was first coated with Interprotect epoxy primer to protect and seal all the small cracks that were found in different spots on the gelcoat. Thankfully, we managed to apply 2 coats on the same day.
Of course, sanding lightly the areas, cleaning and masking was necessary.
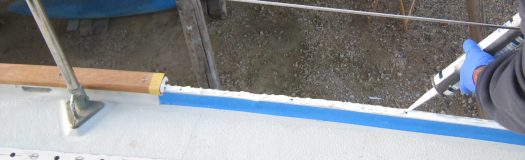
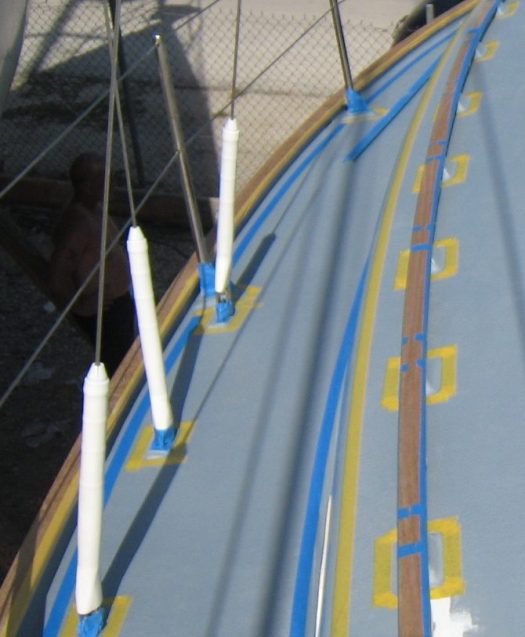
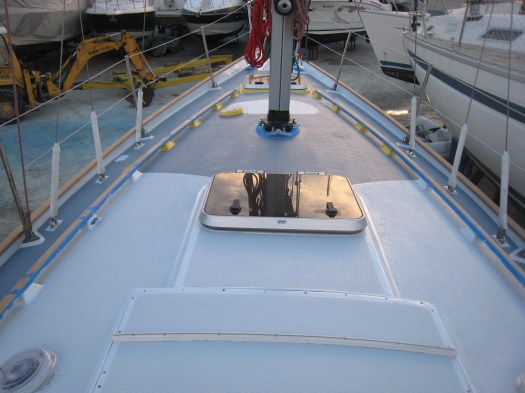
It was time for painting all areas under the hand and toe rails, around the chain plates and around the hatches, first with Epifanes primer…
… and then with Epifanes two parts poly-urethane (Misty White).
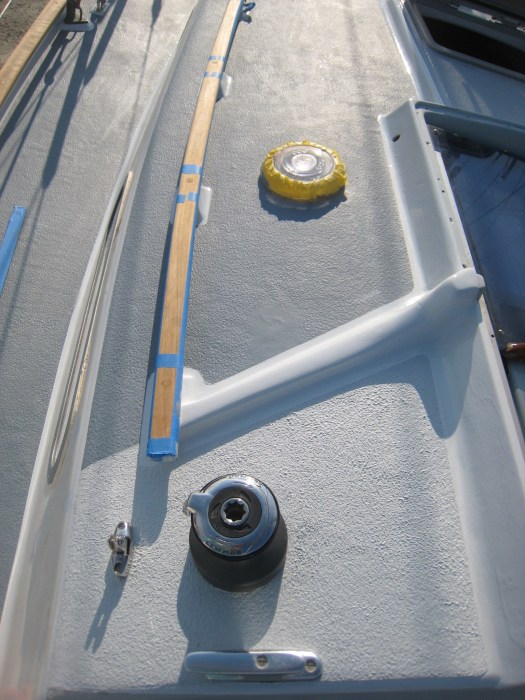
By now the sun was really strong and we had to face the fact that the dark grey primer was heating the deck a lot. We had to proceed as fast as we could with the application of KiwiGrip Anti-slip.
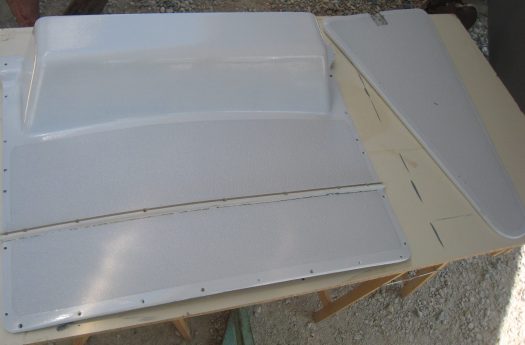
We started the application of KiwiGrip with a small test on the console and the chain locker lid.

This application was very easy and pleasant with excellent results.
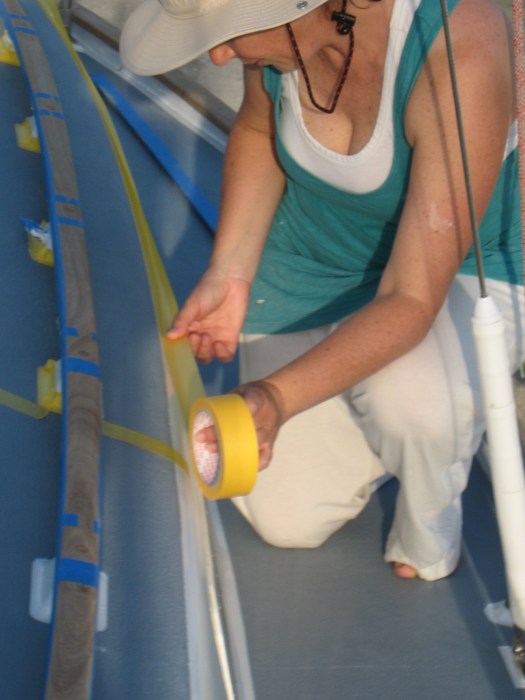
Tape had to be applied again, to all the areas that needed protection.

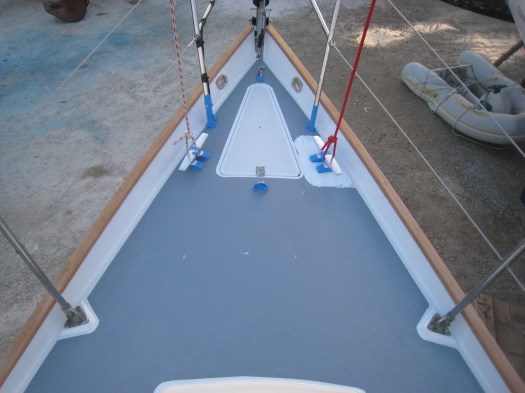
We discovered later that the external temperature & humidity affected quite a bit the anti-skid results. When the KWG was applied in the morning, the paint dried too fast and the surface stayed rough. In the contrary, when applied later in the afternoon, it could slowly dry in the evening and smooth itself nicely.
By far, the best time to apply such acrylic paint under the Mediterranean sun in April, is late afternoon. As often with paints, the result depends on the weather conditions. For sure, application in the direct sunlight has to be avoided but contrary to most paints, a bit of humidity was welcome to smooth the peaks of KiwiGrip.
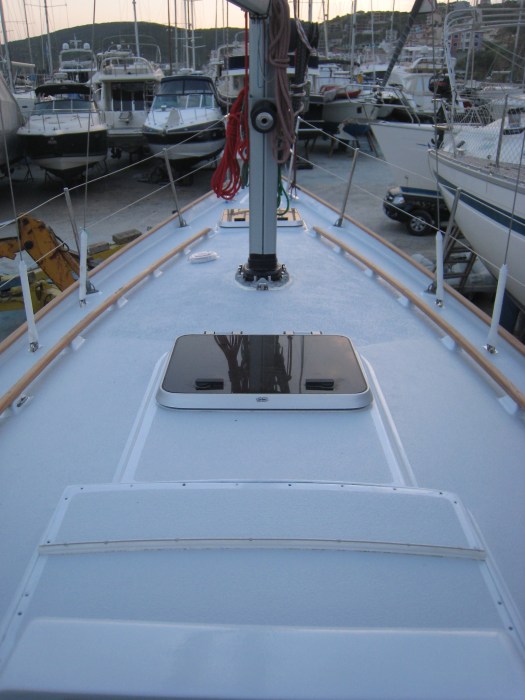
A few words about KiwiGrip: it is a very hard acrylic polymer which provides a heavy duty and elastic non-skid surface. It is probably always better to do a test before on a small area to get used to the rolling technique. We are very pleased with the result even though it is, in some areas, quite rough but certainly anti-slippery !

Excellent travail comme d’habitude !
Je devrai certainement changer également les rails de fargue sur mon bateau, vous n’avez pas trouvé de vis à têtes torx ? C’est beaucoup moins « stressant » que des vis têtes fendues… en tout cas vous avez sacrément bien gérer cette partie qui devait être épuisante …
Laurent
LikeLike